
1.録音データを再生するアプリを起動する

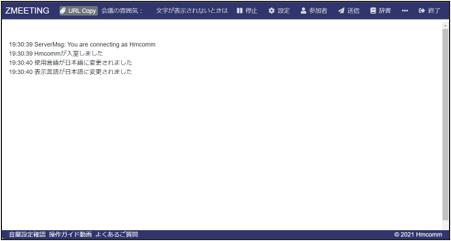
2.ZMEETINGにて会議を予約し、ZMEETINGを起動する
3. ZMEETINGの会議画面にて「設定」アイコンを押下する

4.「自身のマイクからも文字起こしする」のチェックを外す
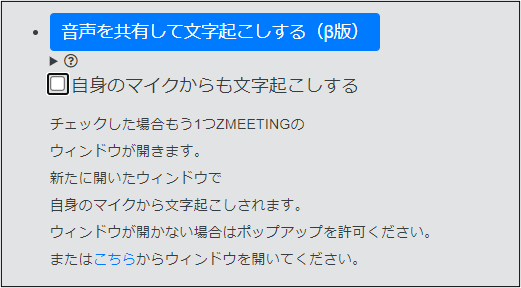
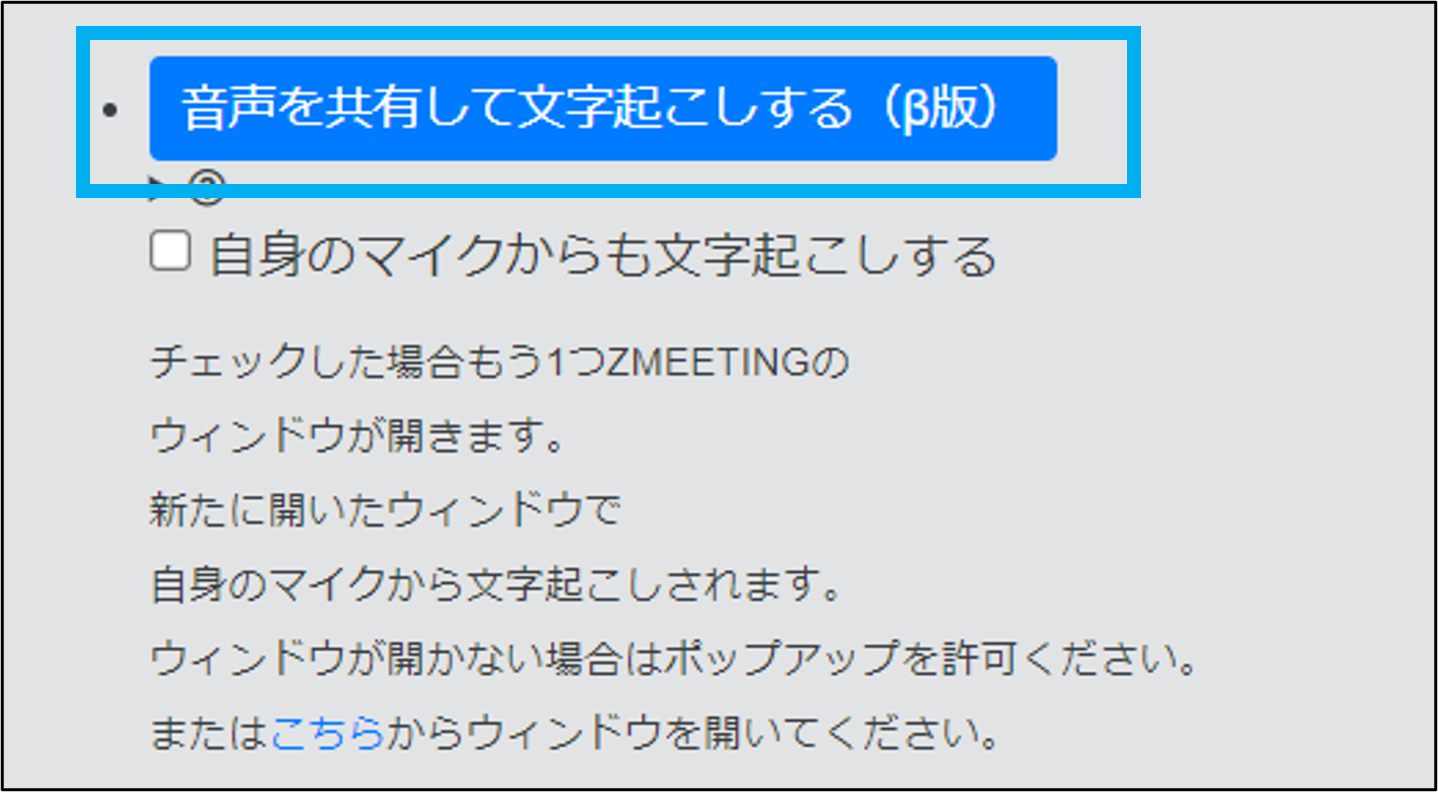
5.設定メニューにて「音声を共有して文字起こしする(β版)」を押下する
6. 「システムオーディオの共有」にチェックを入れる
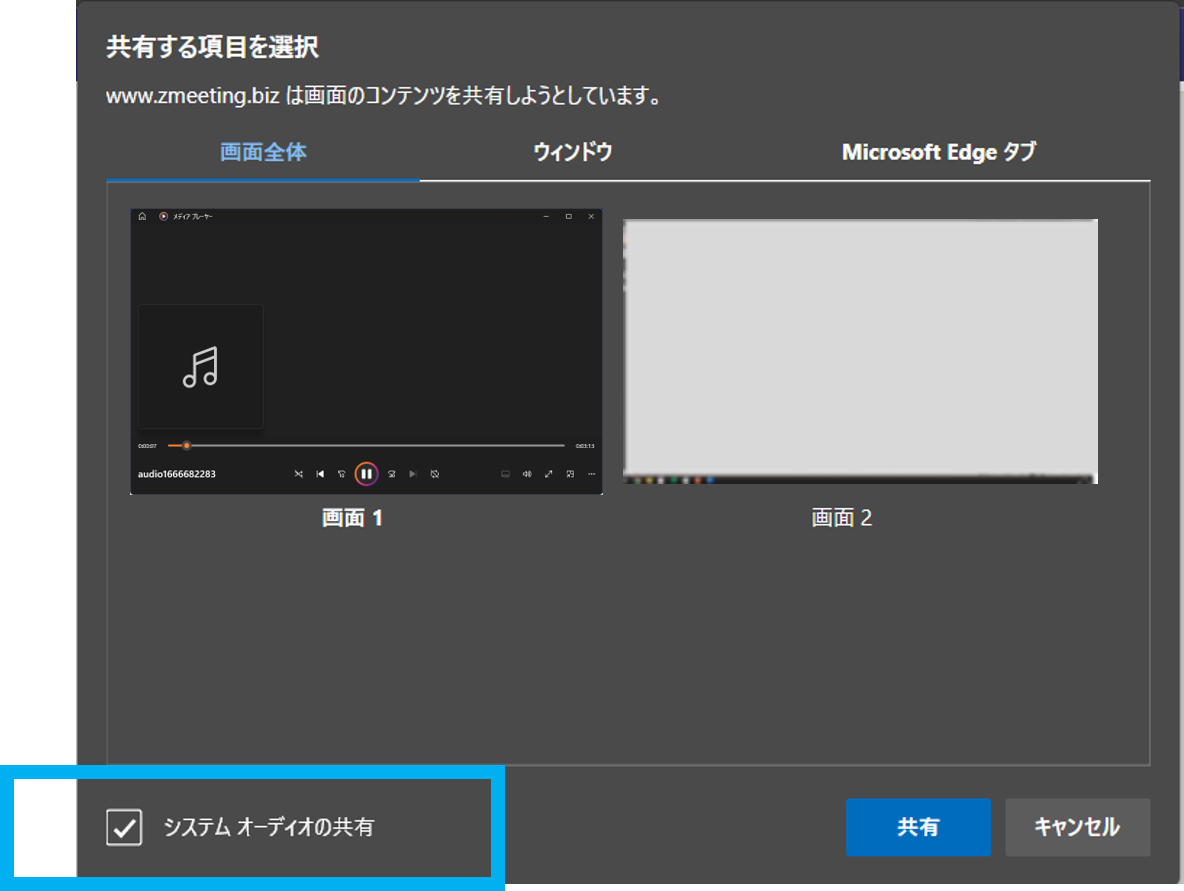
7.音声を取得する画面を選択し、「共有」を押下する
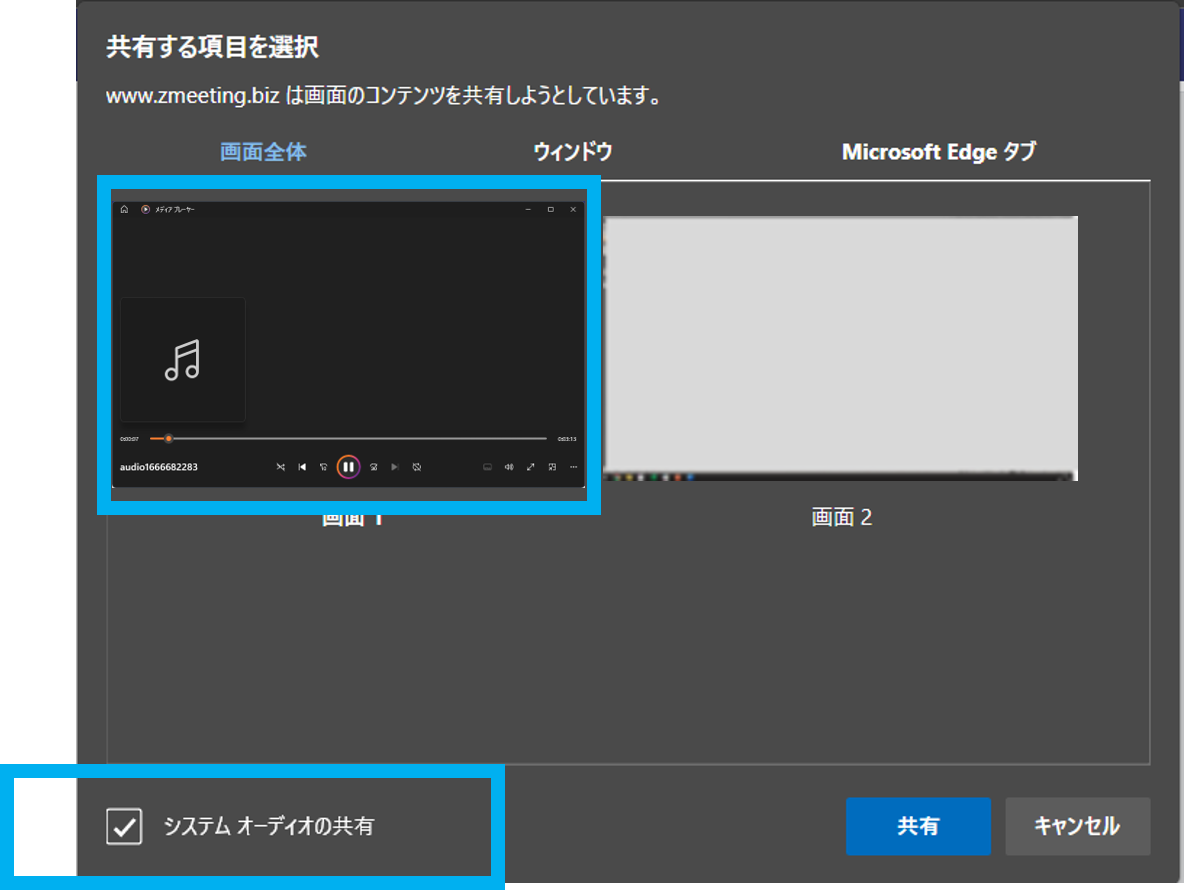
8.以下画面が表示されるため「はい。同意します。」ボタンを押下する
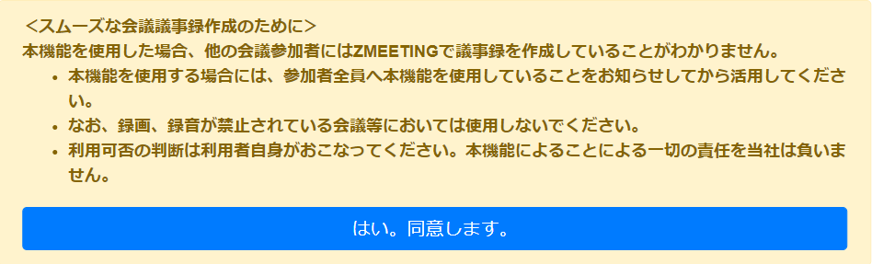
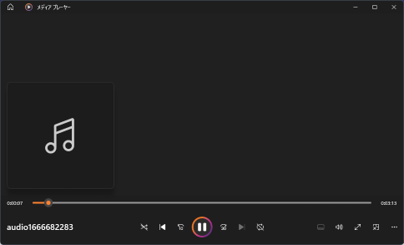
9.録音データを再生する
10. ZMEETINGにて音声認識が開始されます

話者識別機能※と併用する場合は以下を確認してください。
https://tayori.com/faq/eb00c716e529ce3e69633aadaeed74dca152d747/detail/5472c1703b74aff2b0f19453da9ecfae4533fe49/
※Mプラン、Lプランのみ